
Windows10以降に付属している「フォト」を使った画像の編集方法について書いています。
画像をフォトで開く
すでに前回記事をご覧になった方は次の項目にお進みください。
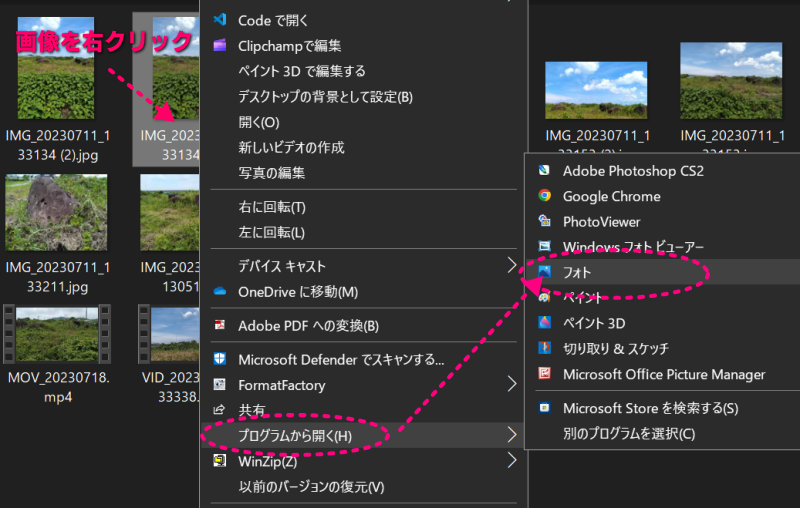
編集したい画像を右クリックし出現した項目から「プログラムから開く」→「フォト」を選択してください。
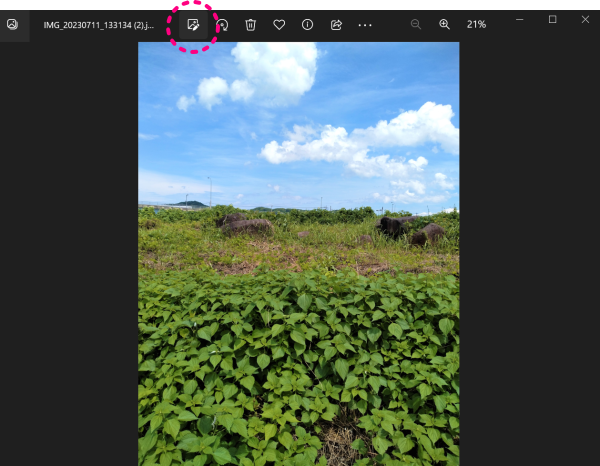
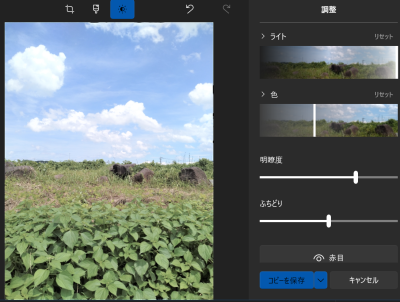
画像の編集をクリック
上部の項目から「画像の編集」をクリックします。
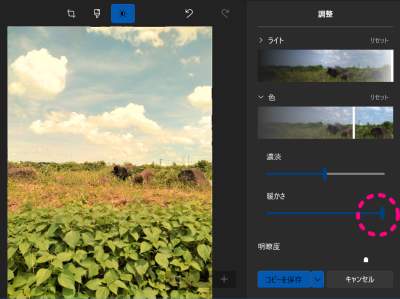
「調整」を選択
上部より調整マークを選択します。
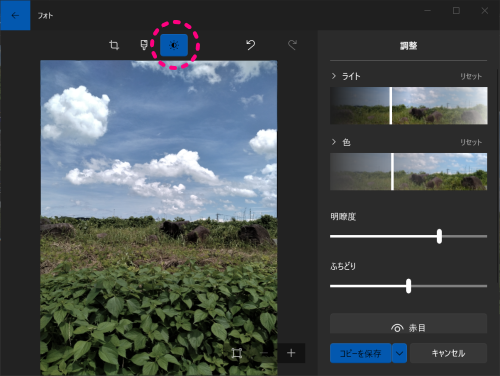
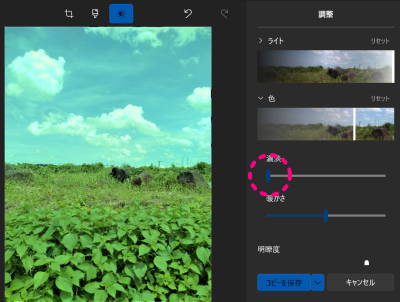
明るさや彩度・明瞭度なども調整できます
右の項目のスライダーを使って調整します。
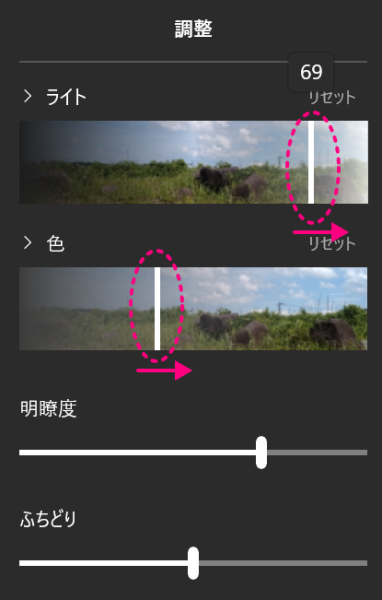
明るくすると白っぽくなるので彩度と明瞭度で調整します。

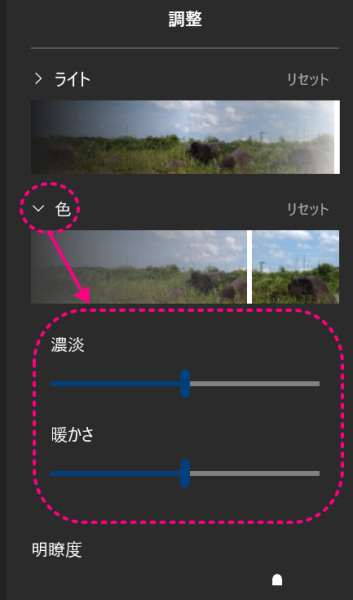
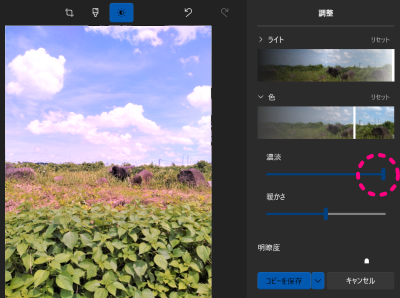
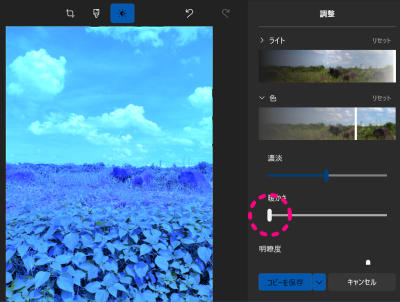
色の調整をもっと細かく
「色」の部分をクリックすれば更に設定が出現します。
いかがでしたか、簡単でしょ?